Your Campaign Page, Section by Section: What Each Part Does and What to Add
Once you create a campaign, you get your own page. This guide walks through it section by section, using one of our sample campaigns as the example, so you know exactly what each part is for, what to write or upload, and which parts fill in on their own as support rolls in.
The top of your page: photo, title, and progress
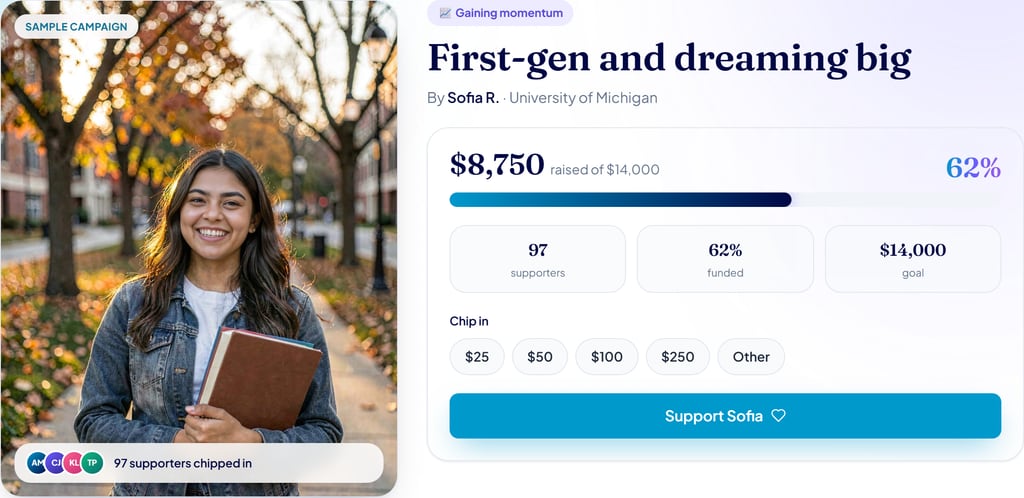
This is the first thing anyone sees, so it does a lot of work. Here is what each piece is:
- Your photo. Upload a clear, friendly photo of yourself, a graduation shot, a photo on campus, or you doing what you love. It is the face of your campaign. The little row of faces and the number of supporters fill in automatically as people give.
- Your title. Keep it short and specific, a few words about what you are working toward, like the "First-gen and dreaming big" example here.
- The status badge. The small label near the top updates itself as you raise, moving from just getting started, to gaining momentum, to almost there, to fully funded. You do not set it.
- Your goal and progress bar. You set your goal when you create the campaign. The amount raised, the percentage, the bar, and the three stats below it all update on their own as gifts come in.
- Chip in and the Support button. These are for your supporters, the quick amounts and the button they use to give. There is nothing for you to fill in here.
Cheers: words of encouragement
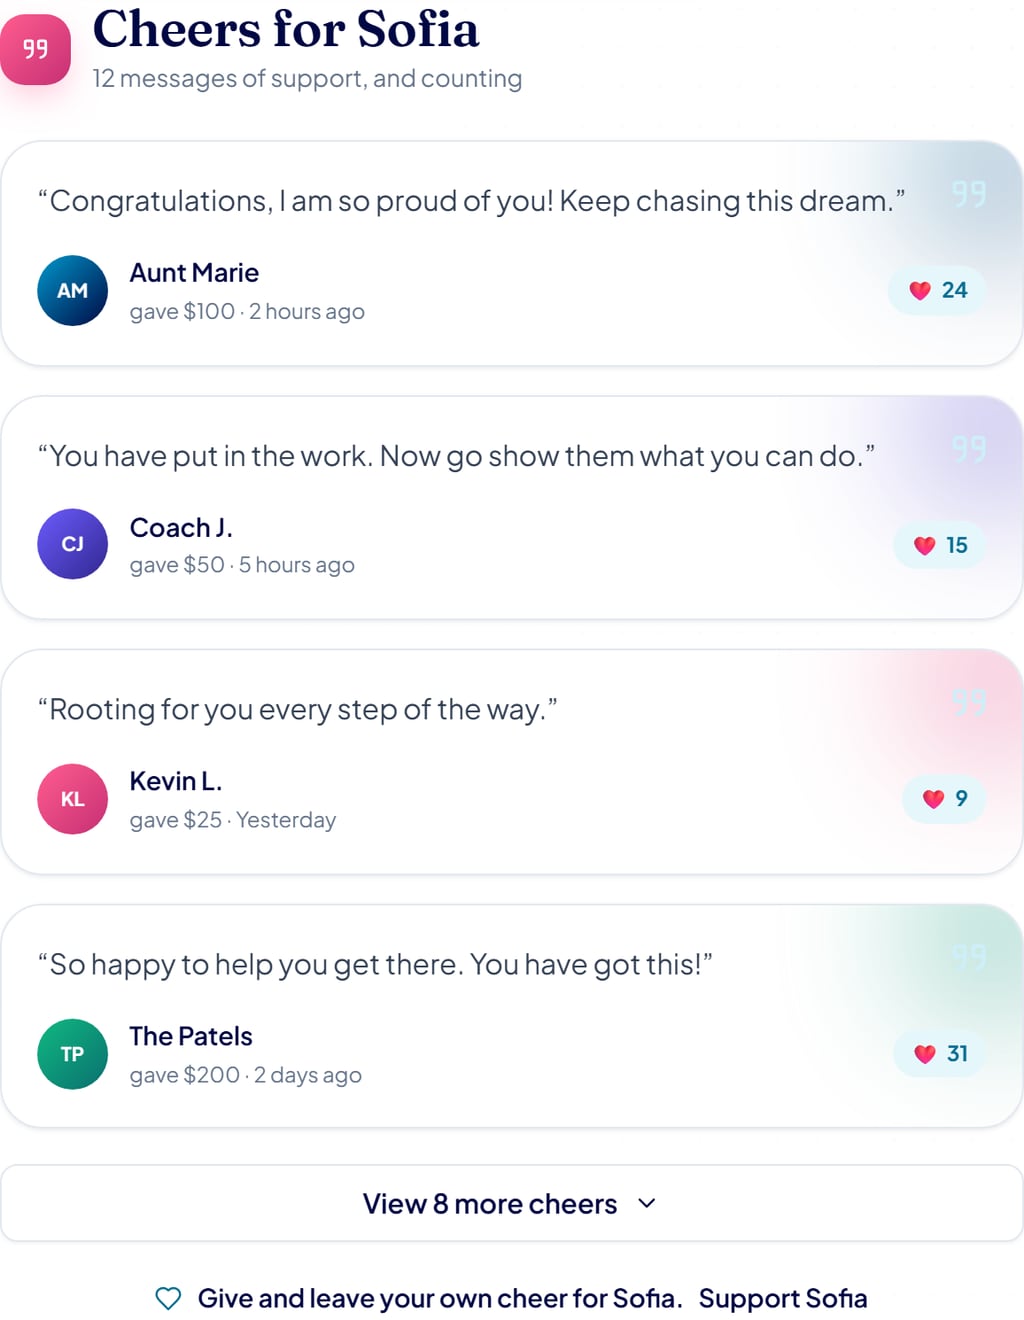
Every person who gives can leave a short message, and those messages show up here as a feed of cheers, each with the giver’s name, what they gave, and a little heart count. It is one of the warmest parts of your page.
What to do: you do not write these yourself. When you share your campaign, ask people to leave a note when they give. The button at the bottom of the list opens up the rest of the messages.
Your story: in your words, and your education journey
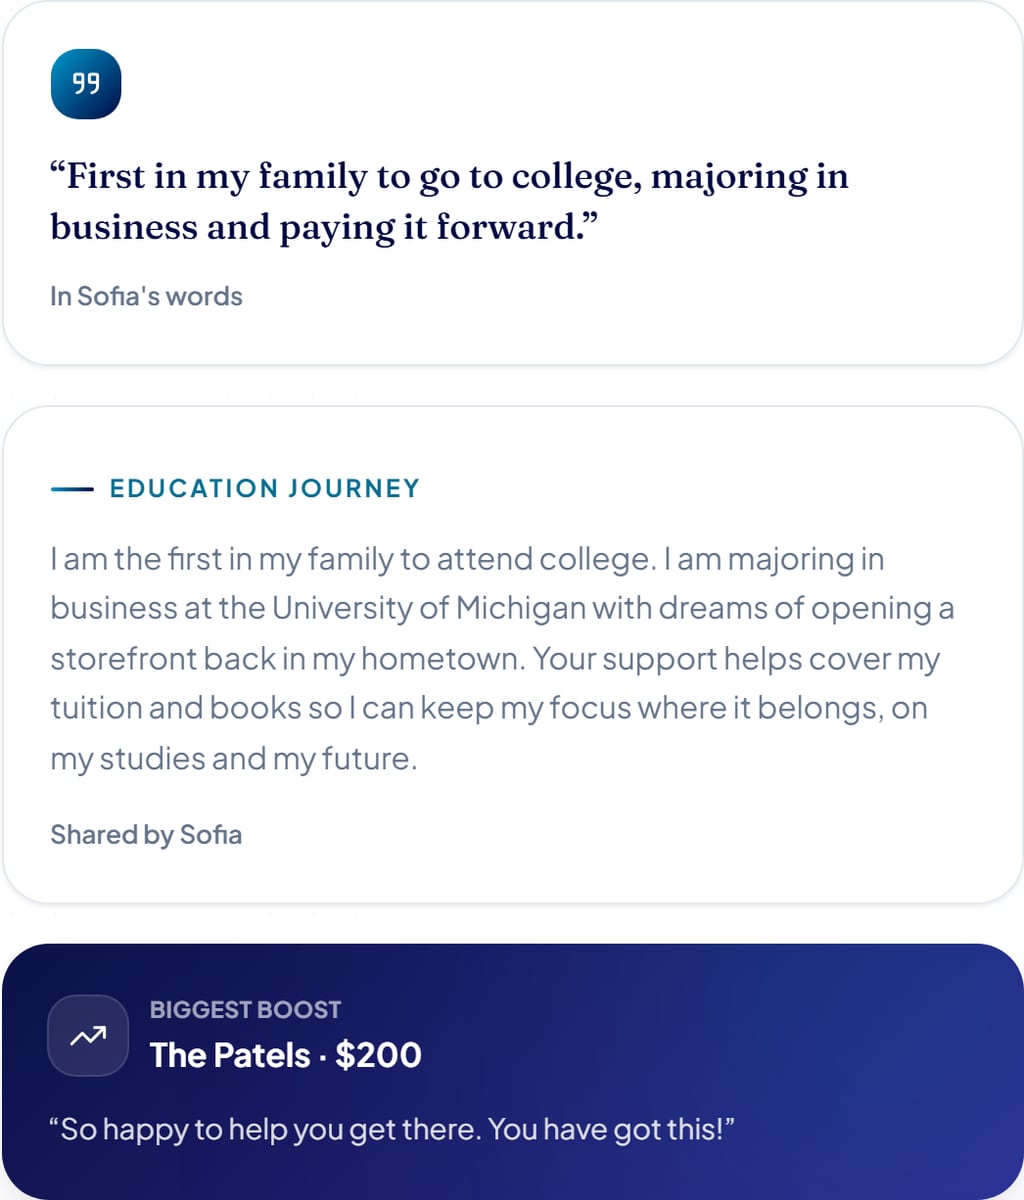
This is where people get to know you, and it is the part that moves them to give. It has three pieces:
- In your words. The short quote at the top. Write one or two sentences in your own voice about who you are and what you are raising for.
- Education journey. The longer write-up. Share where you are headed, what you are studying, why it matters to you, and what the support helps cover. Write it as yourself, it is shown as your own words.
- Biggest boost. The dark highlight card. This one is automatic, it features your largest gift so far and the message that came with it.
Your videos: the highlight reel
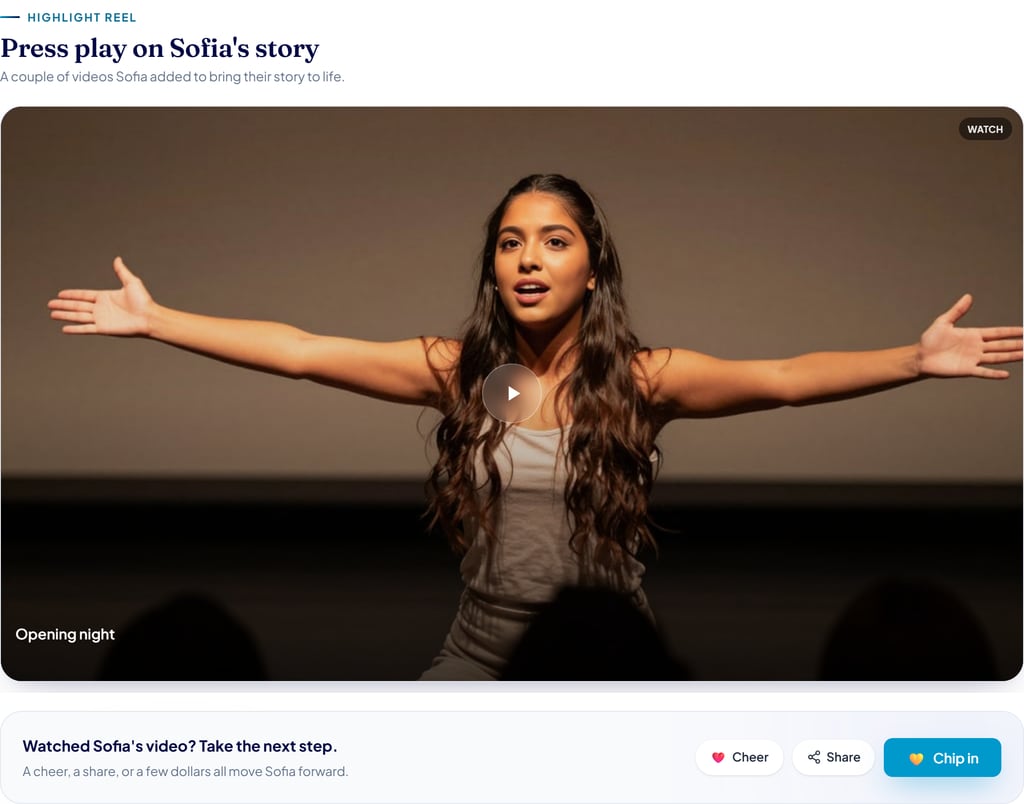
A short video does more than anything else to win support. The highlight reel is where the videos you add show up.
What to upload: one or two videos, ideally a quick phone video of you talking about your goal. Upload it to YouTube or Vimeo and paste the link, and it appears here. Our guide on telling your story with video walks through it. The little prompt underneath, nudging people to cheer, share, or chip in after watching, is there automatically.
Rally your crew: sharing

This is your sharing hub, copy your link, text it to a friend, or share it out. And this part is the real work on your side.
What to do: share your page with close family and friends first, then post it everywhere you can. Campaigns grow when you share them, and most of your support will come from the people you reach out to.
Quick recap: what you add, and what happens on its own
To make it simple, here is who does what:
- You add: your photo, your title, your goal, your story (the short quote and the longer journey), and one or two videos, and then you share your page.
- Fills in automatically: the progress bar and percentage, your supporter count, the status badge, the cheers your supporters leave, and the biggest-boost highlight.
That is your whole page, top to bottom. Put a little care into the parts you fill in, share it widely, and let the rest take care of itself. Ready to build yours? See the step-by-step guide to starting a campaign, or get started now.